
First steps
A lean checklist to get started, with shortcuts to each section.
A quick checklist to get your first campaign off the ground. The areas below live in the side menu, under the Create and Infrastructure sections:
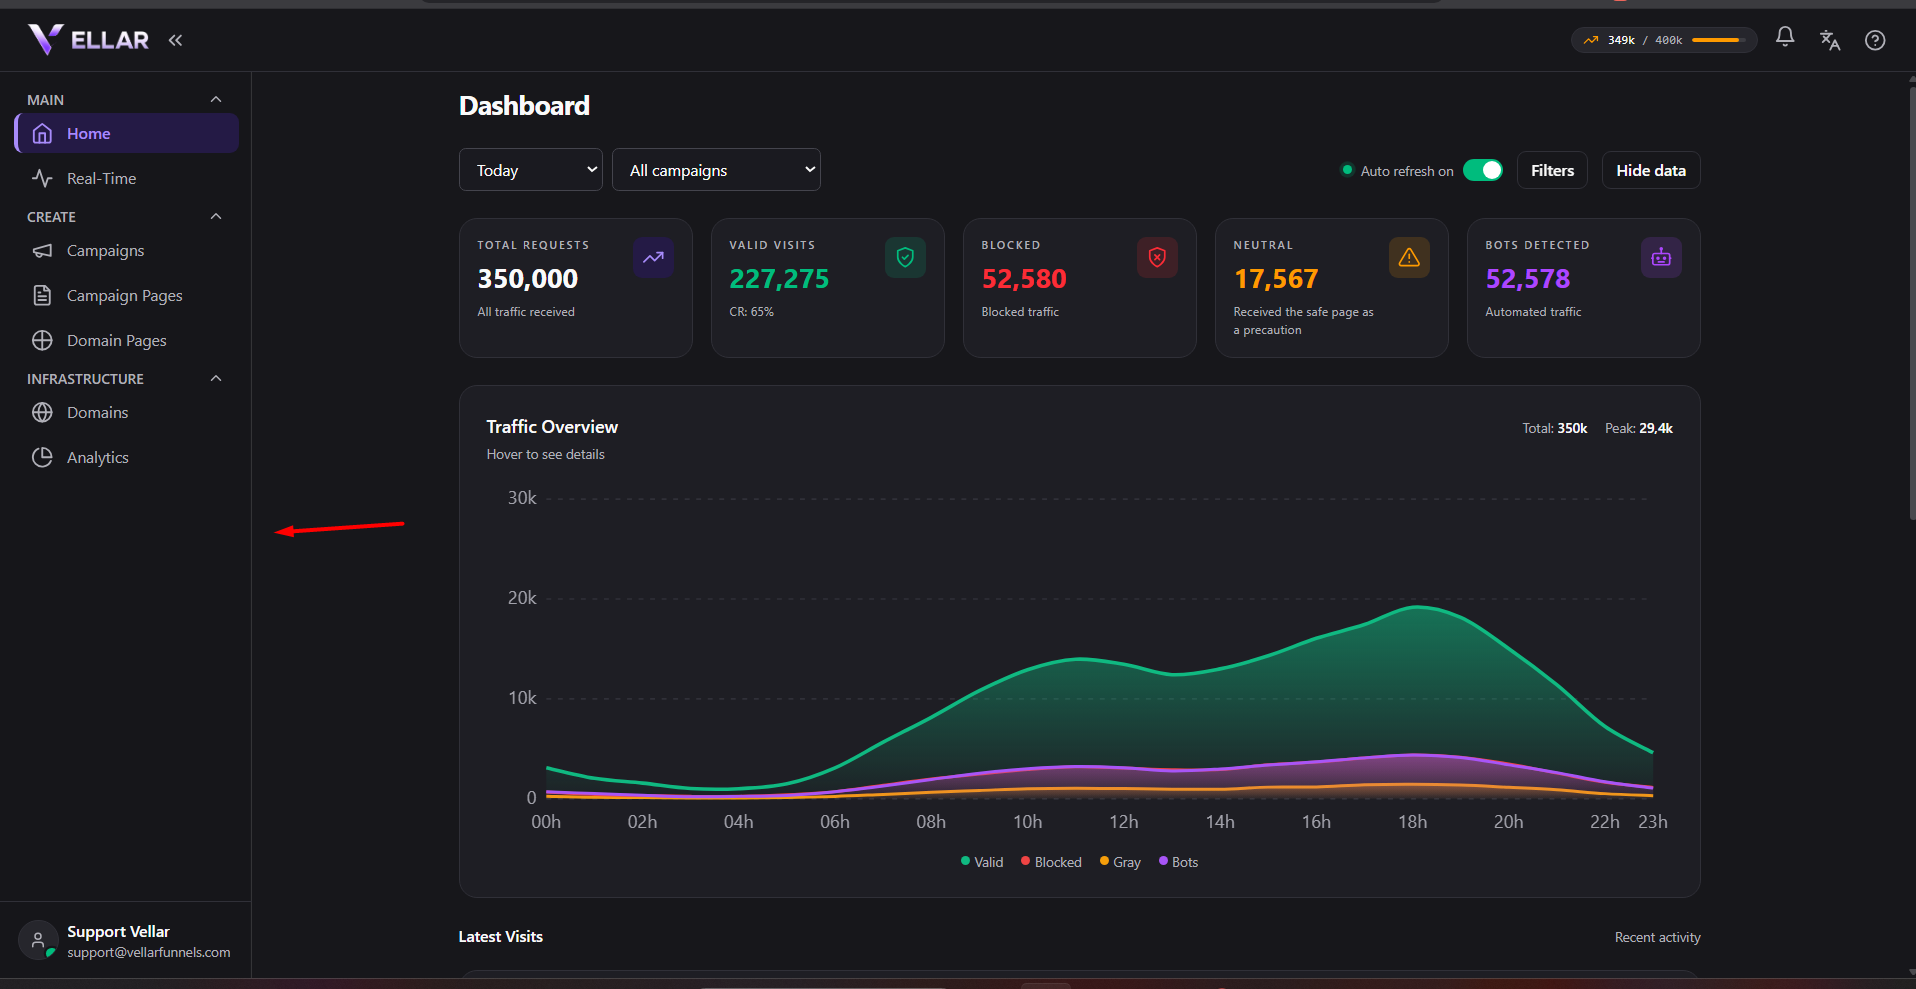
- [ ] Complete your profile. In Settings (your avatar menu, at the bottom of the side menu), adjust your name, photo and the panel language.
- [ ] Create the pages. In Campaign Pages, at least one White (safe) and one Black (the offer). See Create a page and Clone from a URL.
- [ ] Connect a domain. In Domains, add the domain and point the nameservers. See Connect a domain.
- [ ] Create the campaign. In Campaigns, link the domain and the pages and set the rules. See Create a campaign.
- [ ] Publish the pages and test the link.
- [ ] Follow the results in Analytics and in the campaign's Metrics.
Common issues
- I checked off the steps but I'm not sure I did it right. Check From zero to a live campaign for the full order and what each step needs ready before the next one.
- I pointed the nameservers but the domain still isn't Active. Propagation takes some time; the panel shows the step the domain is on. If it was already Active and stopped, see Domain stopped resolving.
- I published but the link shows nothing. Check that both the White and the Black page are published. A campaign doesn't work with only one of the two published.
Need human support?
Reach us at the support email listed in your contract. We reply during business hours. The support channel also follows your plan (standard, priority or VIP).
Protect your campaigns with Vellar
Build the page and choose how to publish it: protected for paid traffic, or open for anything else.
See how it works